
Keep in mind that this is just an overview from what I remember (the longer I wait to write something down, the less I remember. Anyone else have this trouble?). I'm sure I'm leaving out something or maybe not getting things in the right order, but each step of the process is so interesting and it was like, "So that's how they do it!". So I hope as you read the steps and see the pictures, you, too, might think this is a pretty cool and amazing process.
One BIG thing I did not realize or even think about before the tour, was how many steps in the process are still done by hand! Yes, there are machines to help with the job but it still takes a live person to make it all happen!
First, a plastic "plate" or "mold" of the stamp set is created (I don't know how the plate is made so it must be magic!) and they create a die cut so the images can be easily cut out (I'll explain more when we get to that step).

Next, the rubber is cut into the size sheets needed for the stamp set. This machine helps with keeping the rubber straight as it comes off the spool.

I was a little slow in cutting the rubber (I think I was more concerned with getting my fingers out of the way of blade). When the guy above cut the rubber, he was flying!

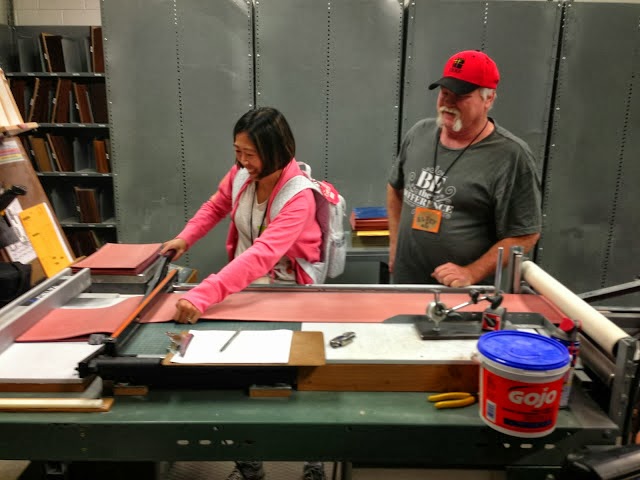
My friend, Gen, getting a turn at cutting.

Once it's finished "cooking", the melted rubber with the attached plates is taken to a large work table where it is cut apart using a box cutter.


The rubber can then be pulled away from the plate and the excess along the edges is trimmed off.

Next, the stamp set is placed on a cooling rack for a few minutes and then it's ready for the sticky back to be applied.


Once the sticky back is applied, the stamp set is ready for the die cut machine where the images are cut out perfectly. I just pushed the buttons on the machine and in 2 seconds, the stamps are punched out. Now that's power!


Whew!! I think that's it! What did you think?
What a process, huh?
I will never forget this tour and all that I have learned about how stamp sets are made from the plastic molds to the melting rubber to packaging it all together. It takes people - wonderful, dedicated people - to make it happen and I'm blessed to have seen firsthand how stamps are made!
No comments:
Post a Comment